Project Overview
Using your knowledge of how wind energy works, your team needs to build a small turbine to produce as much power as possible! Think about the best construction techniques and the most innovative design to make it operate. Entries will be evaluated based on performance as well as creativity, quality, and demonstrated knowledge. You can check for confirmation that you submitted your project by looking at the View Projects section of the Online Wind Challenge page.
While the Online Challenges have traditionally been monthly, evaluations will now be quarterly. After the end of each cycle, we will review the projects submitted and select a few of our favorites to feature on the website.
Submissions will be judged by the KidWind team and winners will be selected on a quarterly basis. Winners receive prizes and are invited to participate in the World KidWind Challenge, a large and prestigious in-person event, hosted at a conference center in a different state every year.
Projects will be grouped for evaluation based on the following time frames:
Projects submitted by November 1st for Quarter 1
Projects submitted by February 1st for Quarter 2
Projects submitted by April 1st for Quarter 3
Projects submitted by August 1st for Quarter 4.
If your team is chosen as a winner, a KidWind staff member will contact the coach. Winners selected from Quarters 1-3 (August 1st through April 1st) will be invited to a World KidWind Challenge in spring 2026.
How Do I Participate?
Get some gear: If you need some gear to start building your turbine we would start here.
Download & read the detailed rules.
Submit your project: Fill out the fields on the Online Submission Form. Make sure to take pictures of your project and process! We will ask you to submit a photo of your entire turbine taken straight on, featuring the blades and hub. Any other photos of blades close up, different angles, etc. can be added as well when you submit your project.
Please note: The more data you share in the project submission form, the better our judges will be able to evaluate and score your turbine. Teams that submit details in most or all of the submission form fields often score higher.
Resources
Anemometers: One of the most important variables we use to calculate your efficiency and performance is wind speed. While we have created the Wind Speed Cheat Sheet, as you can imagine this is pretty inaccurate! To make improve the data we get consider getting an inexpensive anemometer. This will greatly improve the data you provide!
Wind speed cheat sheet: Not sure what the wind speed of your fan is? Use this cheat sheet to find out the speeds of common household box fans.
Performance Calculator: Use this handy tool to test your device’s performance before you submit to the Online Challenge! The electrical output capability will be the most helpful for the Wind Turbine Design Challenge.
Submit Your Project
Project Submissions

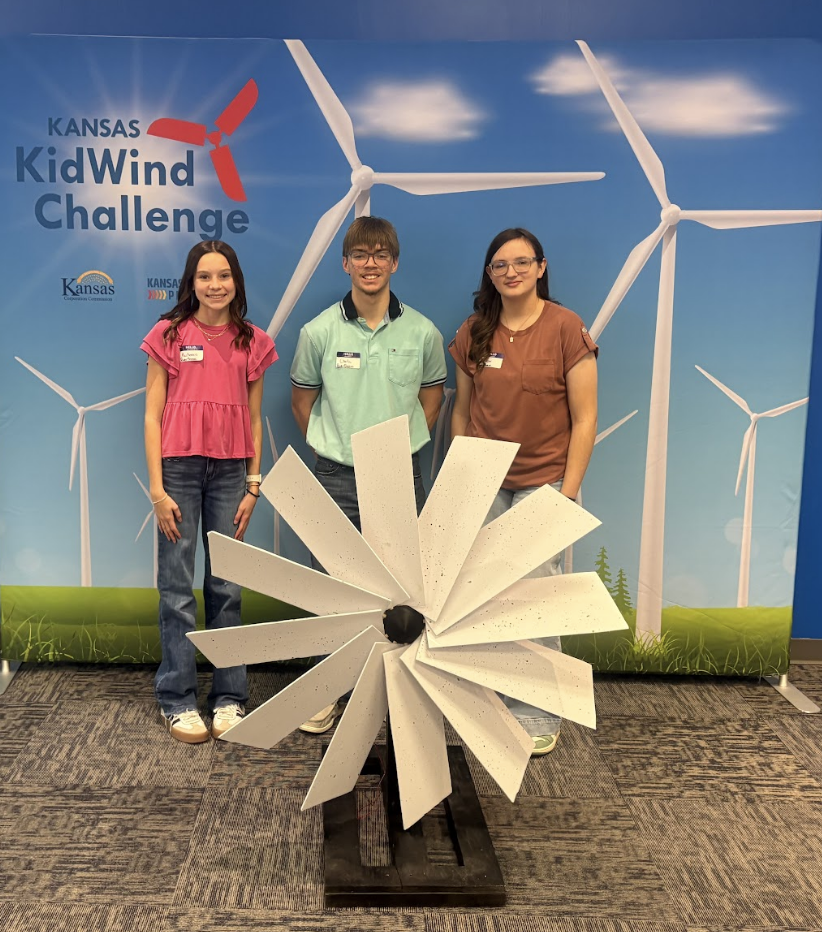
The SHACK girls
G.A. Stetson Middle School · Mr. Paris
Key Metrics
Wind Speed (m/s)
3.2
Rotor Swept Area (cm2)
1499
Resistor Value (ohms)
320
Voltage
6.5
Project Overview
We are a diverse group of 5 girls who love putting our passion to help make a better world, into action. With this turbine we not only aim to have fun, but possibly make a difference in the wind energy world. This turbine was made with driven compassion and care.

Brooke and Maria
WCASD · Mr.Pairs
Key Metrics
Wind Speed (m/s)
3.3
Rotor Swept Area (cm2)
17
Resistor Value (ohms)
3
Voltage
-5
Project Overview
The blade is pretty wide.
It also has spikes to help it spin faster.
Lastly the blade is pretty long which helps it get more air.

Flyers
Stetson · Flyers Flyers
Key Metrics
Wind Speed (m/s)
3.1
Rotor Swept Area (cm2)
803.84
Resistor Value (ohms)
265
Voltage
3.0
Project Overview
Our wings are fast and we are the wind. Also we have 3 wings that can go. We are cool and smart.

Flying Falcons
Stetson Middle School · Mr. Paris
Key Metrics
Wind Speed (m/s)
1.1
Rotor Swept Area (cm2)
1515
Resistor Value (ohms)
260
Voltage
3.3
Project Overview
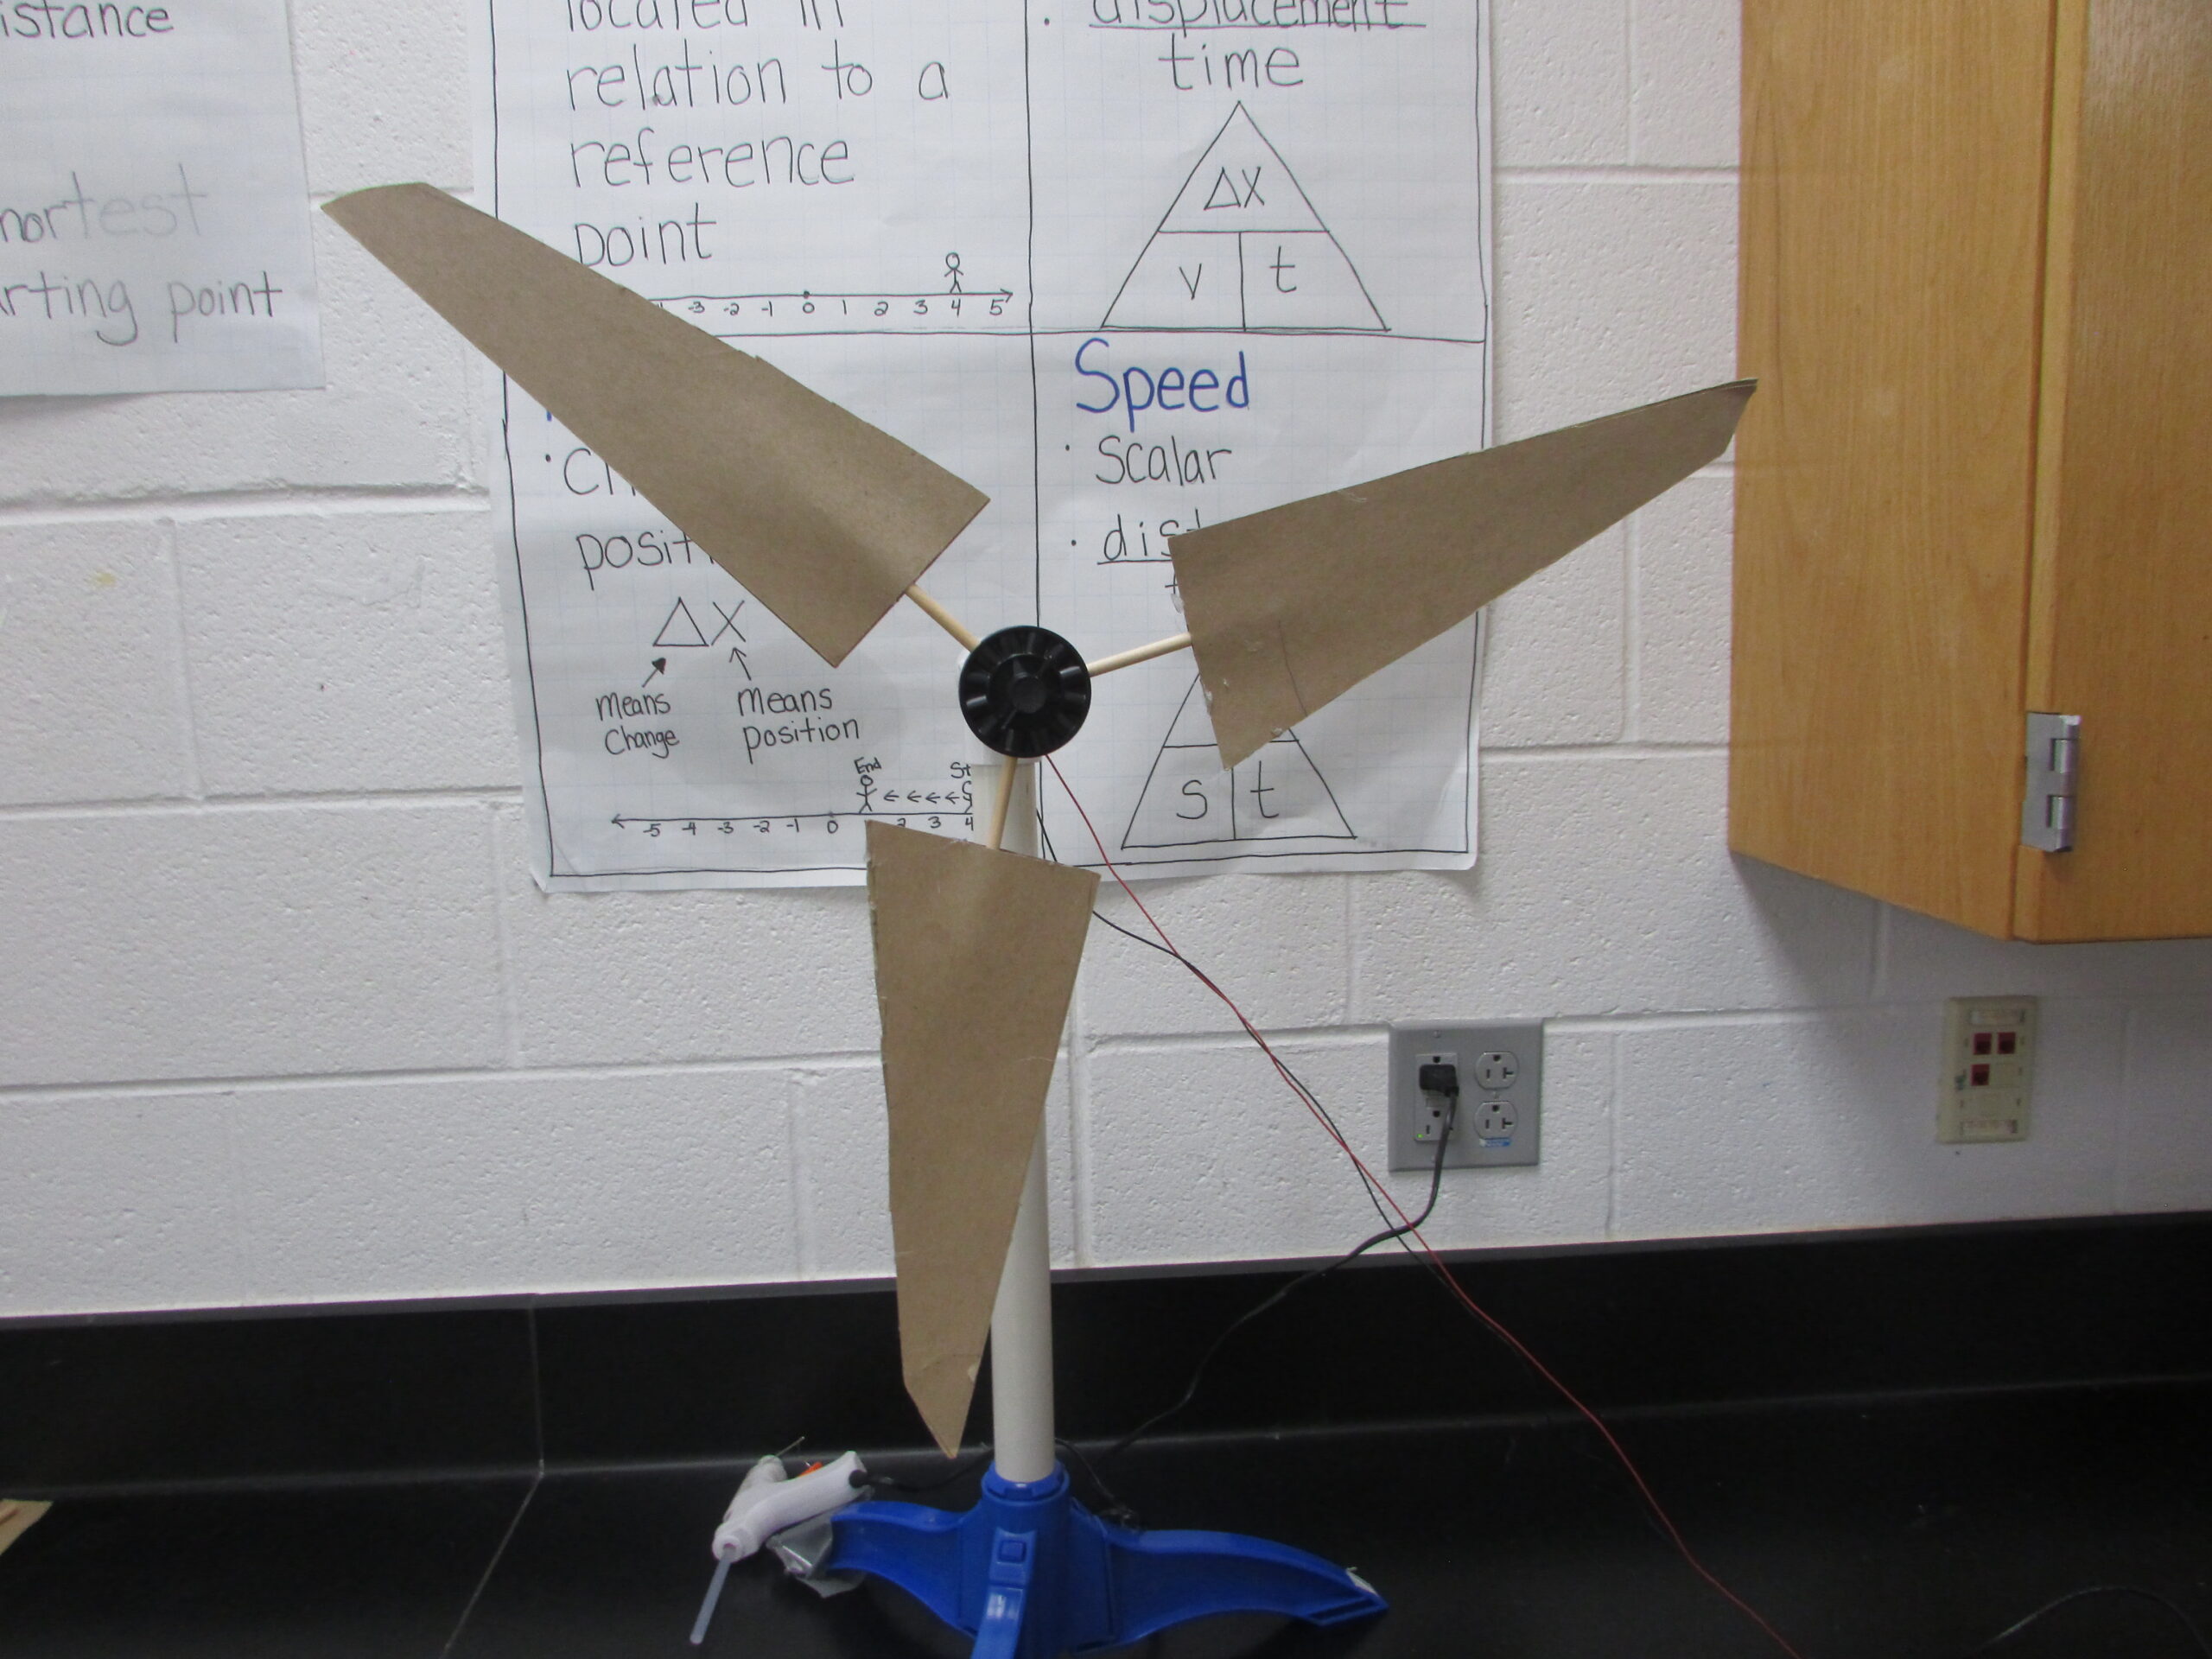
This is our wind turbine blade for the KidWind Challenge. We made it using cardboard and cut it with scissors and a table saw. We sanded the top and cut three triangles in the bottom.

The Flying Falcons
Stetson Middle School · Joseph Paris
Key Metrics
Wind Speed (m/s)
3.1
Rotor Swept Area (cm2)
1520
Resistor Value (ohms)
259
Voltage
4.3
Project Overview
This is our project for the KidWind turbine challenge. We used cardboard, and cut it with scissors and a saw. We sanded the top side, and cut triangles in the bottom to slow down the wind.

Bing Wings
WCASD · Mr Paris
Key Metrics
Wind Speed (m/s)
3
Rotor Swept Area (cm2)
1133.54
Resistor Value (ohms)
260
Voltage
3.65
Project Overview
We built a curved 6 wing blade in order to have a sustainable design of an actual wind turbine. It produces a lot of volts, and it can also power a lot of homes if we use this design. Overall, this design can make the world a more sustainable place.

Abs
Stetson · Mr. Paris
Key Metrics
Wind Speed (m/s)
3.6
Rotor Swept Area (cm2)
572
Resistor Value (ohms)
295.3
Voltage
2.91
Project Overview
Our project has 4 blades. The blades are a curved circular shape. The blades are made out of cardboard.

WINDHOGGERS
NorthField Mount Hermon · Pete Sniffen
Key Metrics
Wind Speed (m/s)
4
Rotor Swept Area (cm2)
1464.38
Resistor Value (ohms)
30
Voltage
6
Project Overview
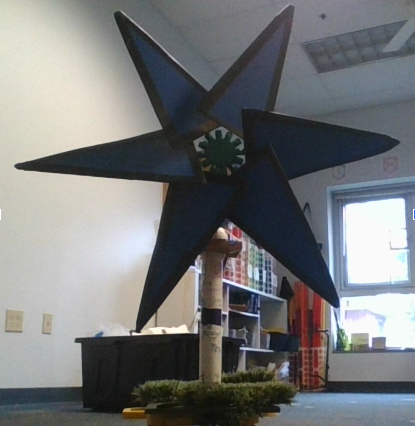
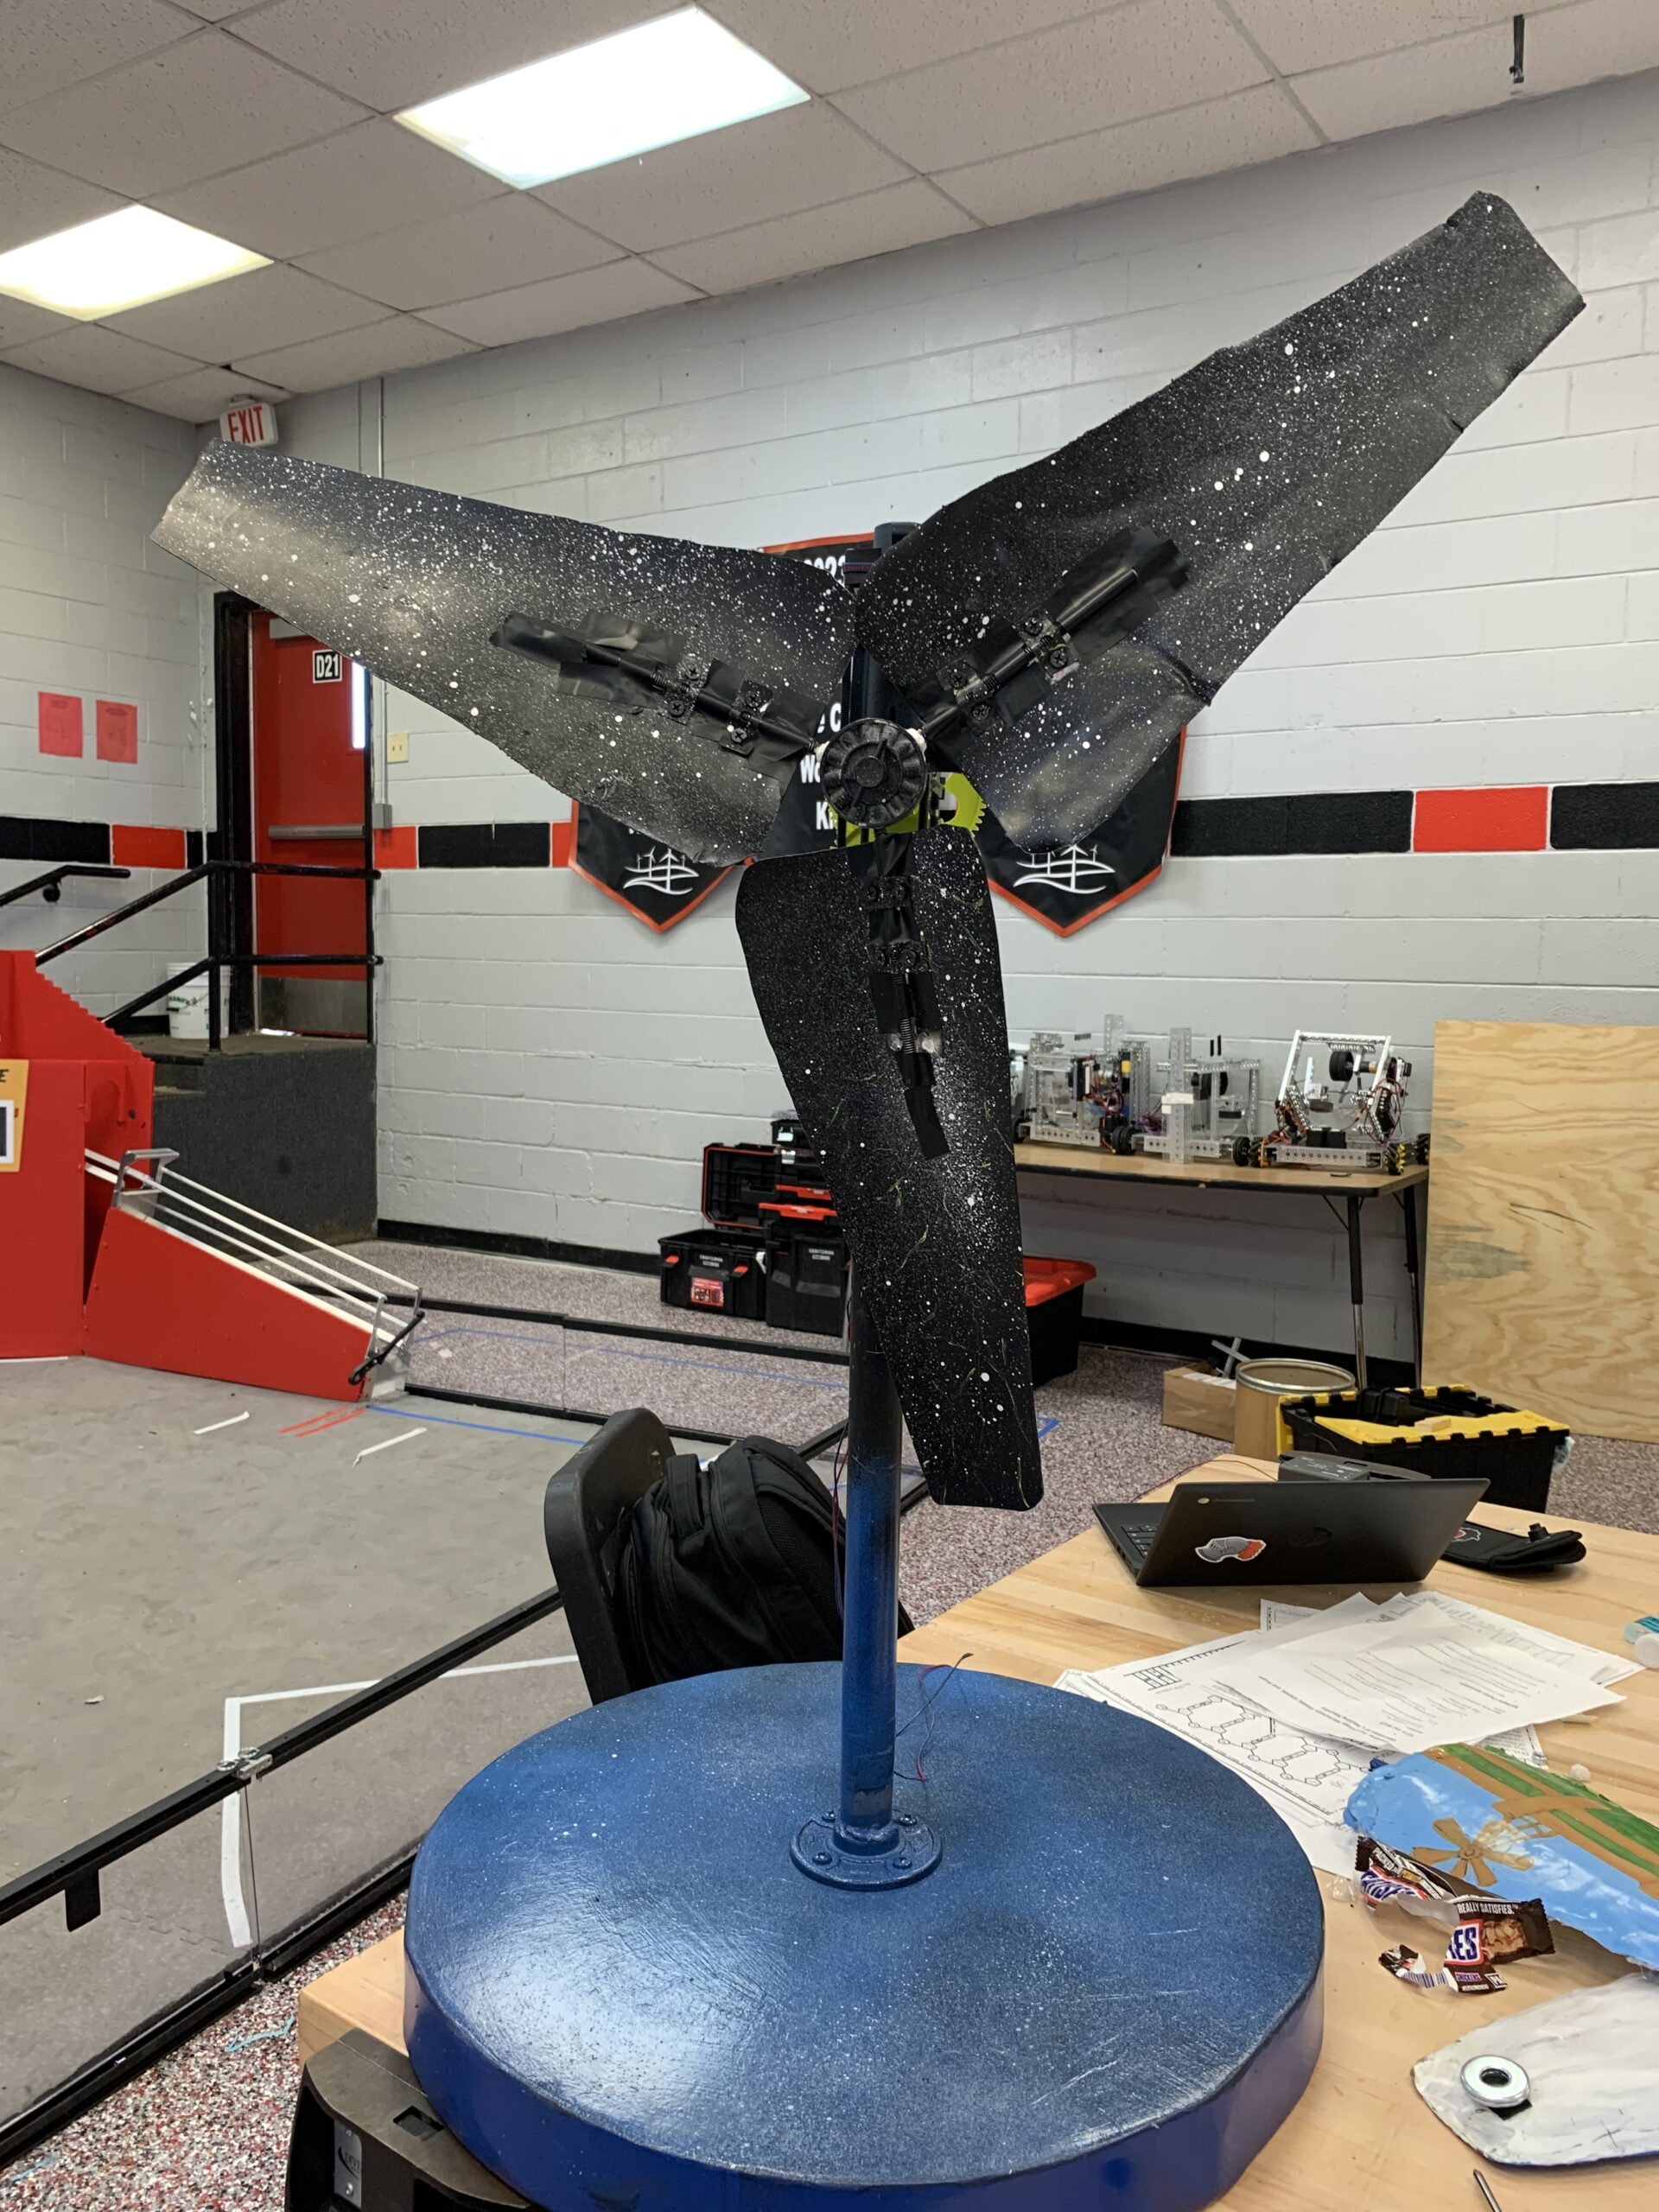
We are a Wind turbine team from NorthField Mount Hermon. We have been working on exploring how clean energy works. This project design was inspired by Spiderman.
Video of Device Running

NMHWIND Team
NorthField Mount Hermon · Pete Sniffen
Key Metrics
Wind Speed (m/s)
-3
Rotor Swept Area (cm2)
5546.23145687
Resistor Value (ohms)
1839
Voltage
9
Project Overview
We are a Wind turbine team from NorthField Mount Hermon. We have been working on exploring how clean energy works. This project design was inspired by Spiderman.
Device fits inside 1m2 cube
Solar Panel
Panels
Bank
Video of Device Running

Power Breeze
Oakley High School · Morgan Berkgren
Key Metrics
Wind Speed (m/s)
3.2
Rotor Swept Area (cm2)
9583.31
Resistor Value (ohms)
30
Voltage
28
Project Overview
Last year, we participated in the KidWind Worlds competition in the middle school division, where we were honored to receive the Rookie of the Year award. This year, we have advanced to the high school level and are currently working on developing a turbine for the open division. At this time, we have completed a KidWind generator turbine that we are submitting for competition. However, our goal is to qualify for Worlds again so that we can continue improving our design and test a planetary gear system in the open division.
Video of Device Running

Burlington Wind Company Wind Monkeys
Burlington High School · Mr. Bruening
Key Metrics
Wind Speed (m/s)
3
Rotor Swept Area (cm2)
8820
Resistor Value (ohms)
30
Voltage
5
Project Overview
The goal for this project is to create a Wind Turbine that can produce the maximum amount of joules. The turbine is made by only the group of kid wind participants, and they must work together to come up with a working turbine
Video of Device Running
Power Breeze
Oakley High School · Morgan Berkgren
Key Metrics
Wind Speed (m/s)
3.2
Rotor Swept Area (cm2)
9583.3
Resistor Value (ohms)
30
Voltage
28
Project Overview
Last year, we participated in the KidWind Worlds competition in the middle school division, where we were honored to receive the Rookie of the Year award. This year, we have advanced to the high school level and are currently working on developing a turbine for the open division. At this time, we have completed a KidWind generator turbine that we are submitting for competition. Our goal is to qualify for Worlds again so that we can continue improving our design and test a planetary gear system in the open division.
Video of Device Running

Winning Windmill
Winslow Junior High · Ms. Bisson
Key Metrics
Wind Speed (m/s)
-1
Rotor Swept Area (cm2)
5538.96
Resistor Value (ohms)
35.6
Voltage
40
Project Overview
a fun educational project for kids to have fun while learning, and supporting eco-friendly energy.

THE BALD POMNIS
Winslow Junior High School · Jessica Bisson
Key Metrics
Wind Speed (m/s)
3
Rotor Swept Area (cm2)
4534.16
Resistor Value (ohms)
44
Voltage
2
Project Overview
Our wind turbine has 4 blades that spin. Our wind turbine is made out of a kid wind kit. Our wind turbine can generate power with our wind speed.

Whimsical Jimmy
Winslow Junior High School · Jessica Bisson
Key Metrics
Wind Speed (m/s)
3
Rotor Swept Area (cm2)
5541
Resistor Value (ohms)
33.4
Voltage
0.81
Project Overview
This is a wind turbine, that can generate power. It has a consistant but slow speed on the fan.

McDonald Munchers
WINSLOW Junior High School · Jessica Bisson
Key Metrics
Wind Speed (m/s)
3
Rotor Swept Area (cm2)
4773
Resistor Value (ohms)
152
Voltage
3.27
Project Overview
This is a wind turbine with four blades. This uses a bigger gear then normal to increase speed and velocity of the wind turbine. We used the kid wind kit to make this possible.
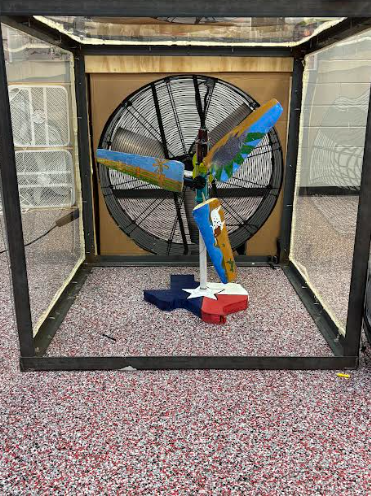
Texas Wolves
Colorado High School · Harold Sowa
Key Metrics
Wind Speed (m/s)
5
Rotor Swept Area (cm2)
1350
Resistor Value (ohms)
30
Voltage
26
Project Overview
We are the Texas Wolves, a dedicated team of seven students competing in the KidWind Challenge, with each of us having 1-2 years of experience. By using our strengths and working together, we’ve created a turbine focused on generating the maximum possible power. Through extensive testing of multiple blade designs, materials, and ratios, we analyzed the data and refined our prototype to develop the high-performing wind turbine we have today.
Video of Device Running

Revenge of the Soup
Exeter-West Greenwich Senior High School · Amy Biagioni-Chmura
Key Metrics
Wind Speed (m/s)
4.5
Rotor Swept Area (cm2)
9160.88
Resistor Value (ohms)
200
Voltage
27
Project Overview
We’re Revenge of the Soup, a homebuilt division team of seniors from Exeter-West Greenwich High School in Rhode Island! Every component of our turbine has been selected, designed, and assembled by us over the past two years. We have worked hard to improve and perfect it.
Video of Device Running
Additional Project Details

Swimming Hotdogs
Sand Creek Middle School · James Brown
Key Metrics
Wind Speed (m/s)
3.8
Rotor Swept Area (cm2)
1452.158375
Resistor Value (ohms)
30
Voltage
8
Project Overview
We are the Swimming Hotdogs. Our team consists of 2 members, Avi and RJ. We go to Sand Creek Middle School in Albany, NY. We have gotten an average of over 2,000 mW. We are excited to come back this year and compete!!
Video of Device Running

Hallie Hope
The Londonderry School · Laura Eichhammer
Key Metrics
Wind Speed (m/s)
3.5
Rotor Swept Area (cm2)
5808.6335
Resistor Value (ohms)
30
Voltage
9.012
Project Overview
Hi my name is Hallie and im an 11 year old
doing Kidwind for the first time. I like how the
project turned out and I bet you will too. The
turbine has three blades, the base is from an
office chair, and it has had a lot of work put
into it.
Video of Device Running

Hallie Hope
The Londonderry School · Laura Eichhammer
Key Metrics
Wind Speed (m/s)
3.5
Rotor Swept Area (cm2)
5808.6335
Resistor Value (ohms)
28
Voltage
9.012
Project Overview
Hi my name is Hallie and im an 11 year old
doing Kidwind for the first time. I like how the
project turned out and I bet you will too. The
turbine has three blades, the base is from an
office chair, and it has had a lot of work put
into it.
Video of Device Running

Aerosmiths
Chesapeake Math & IT Academy South · Mr. Roorda
Key Metrics
Wind Speed (m/s)
7.2
Rotor Swept Area (cm2)
3425.3425587
Resistor Value (ohms)
30
Voltage
13.4
Project Overview
Our windmill was made with 3D printed parts and PVC pipes. We wanted to make our best windmill yet, with a more steampunk design to signal our growth as a team. Throughout our testing, we fastened the base and replaced certain parts with PLA filament to get better testing results.
Device fits inside 1m2 cube
Solar Panel
Panels
Bank
Video of Device Running

Supreme Wolves
Colorado High School · Harold Sowa
Key Metrics
Wind Speed (m/s)
5
Rotor Swept Area (cm2)
1545
Resistor Value (ohms)
30
Voltage
25
Project Overview
Our turbine features a vertical stacked dual-nacelle design with a custom 32:1 gear ratio built to produce the most joules possible in competition conditions. We tested polyplastic, wide PVC, and small PVC blades across multiple trials and selected heat-curved polyplastic as our primary blade for its lighter weight and higher spin speed, while keeping PVC as a backup for slower wind tunnels. The project is finished with a hand-painted offshore wind farm theme to represent the future of renewable energy and the real-world industry behind it.
Device fits inside 1m2 cube
Solar Panel
Panels
Bank
Video of Device Running

Swimming Hotdogs
Sand Creek Middle School, Colonie, Albany NY · James Brown
Key Metrics
Wind Speed (m/s)
3.8
Rotor Swept Area (cm2)
3688.4822725
Resistor Value (ohms)
30
Voltage
8
Project Overview
We are the Swimming Hotdogs, a team consisting of two members, Avi and RJ. We go to Sand Creek Middle School in Albany, NY. We have gotten an average of over 2000 mW and are excited to come back this year and compete again.
Device fits inside 1m2 cube
Solar Panel
Panels
Bank
Video of Device Running
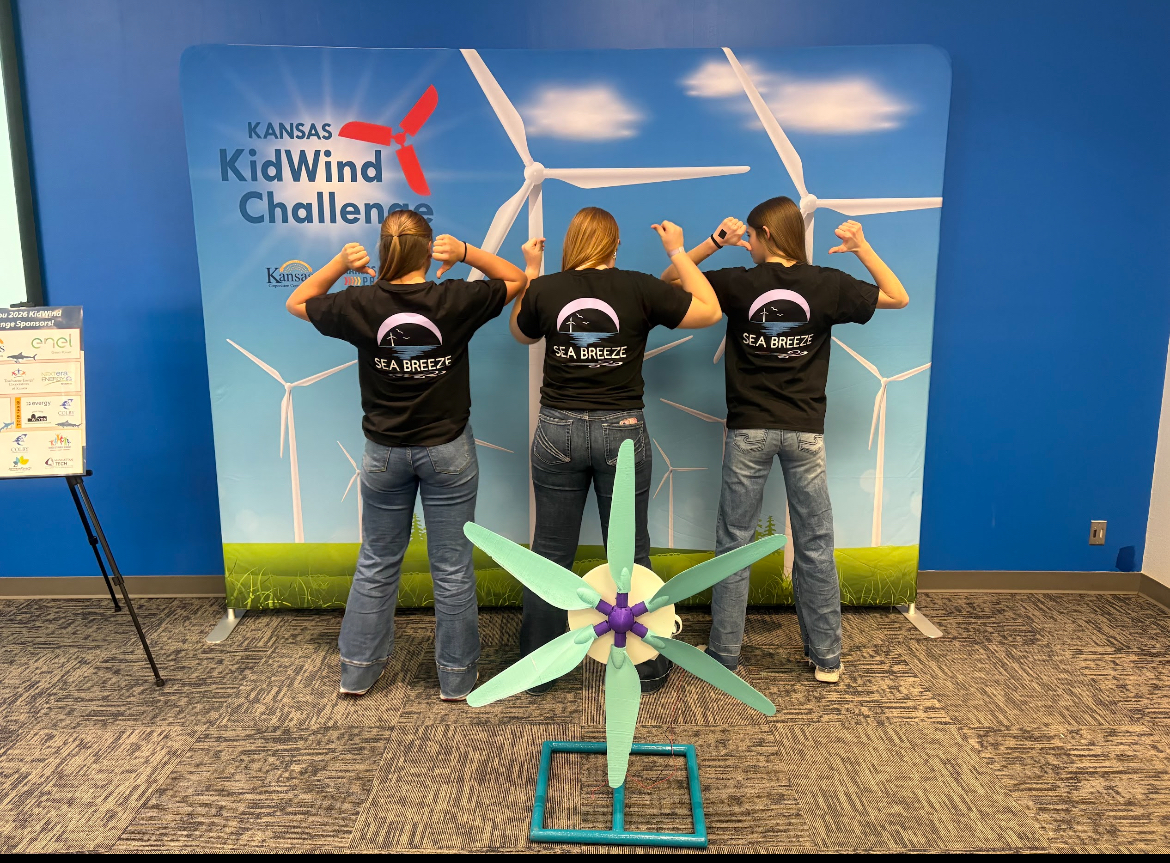
Sea Breeze
Oakley High School · Morgan Berkgren
Key Metrics
Wind Speed (m/s)
1.8
Rotor Swept Area (cm2)
7703.11
Resistor Value (ohms)
30
Voltage
2.5
Project Overview
Our team recently participated in a regional competition in the KidWind Generator Division, gaining valuable experience in turbine design and performance. Building on that foundation, we have since redesigned our system into a home-built double-rotor generator as we prepare to compete in the online division. As members of Oakley High School’s STEM Club, we have previously qualified for and competed at the World Championship level through the KidWind Generator Division. This year, we are striving to return to Worlds while competing in a new division, challenging ourselves to expand our skills, explore more advanced design concepts, and push beyond our previous achievements.
Video of Device Running
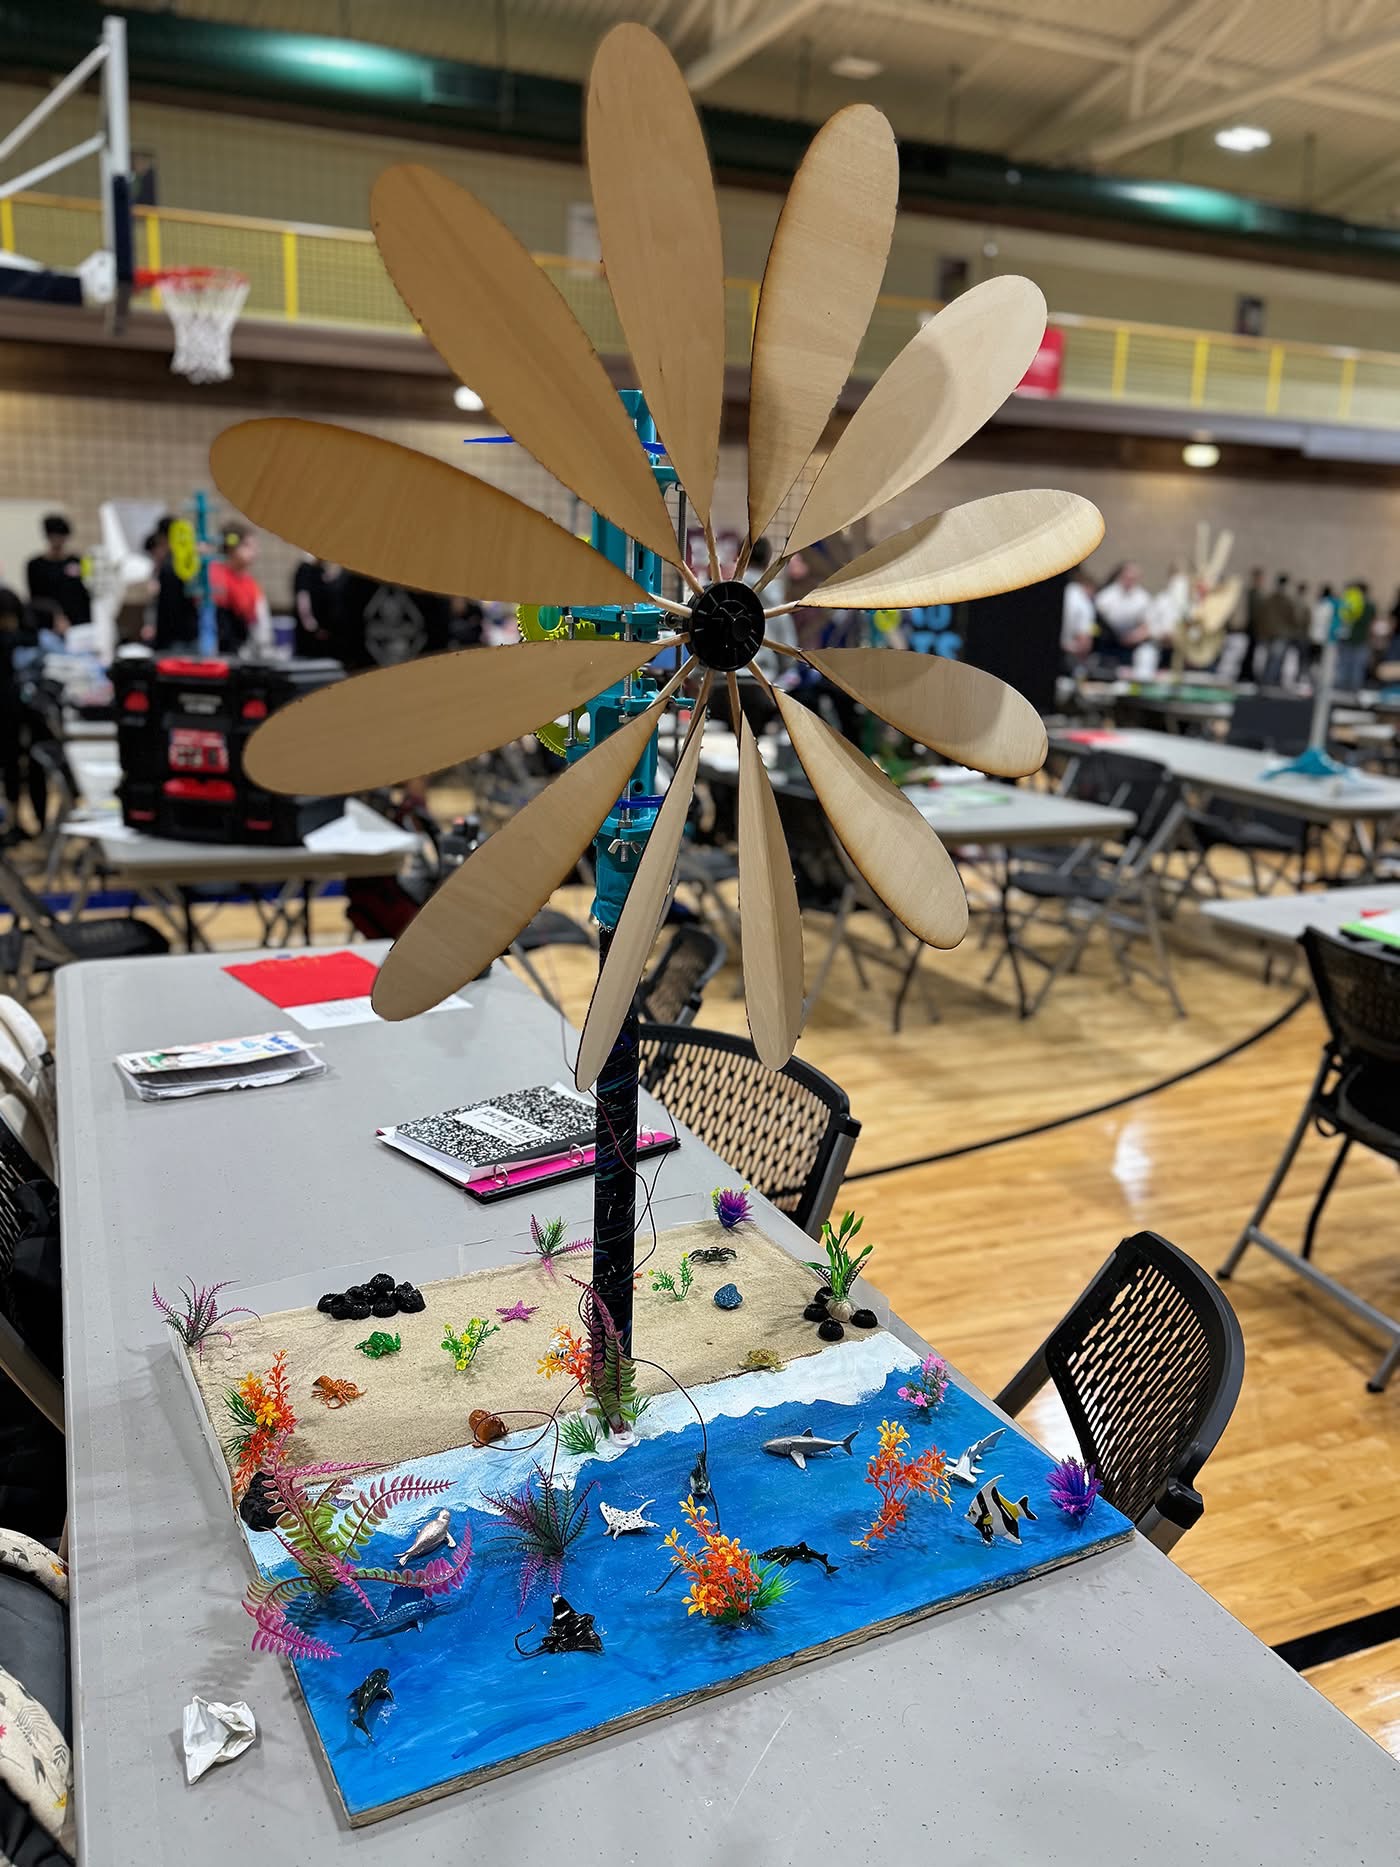
CMS Wind
Colorado Middle · Kalissia Hinson
Key Metrics
Wind Speed (m/s)
3
Rotor Swept Area (cm2)
3693
Resistor Value (ohms)
10
Voltage
22.74
Project Overview
We designed and built a sea-themed wind turbine featuring a unique double nacelle system. The project combines renewable energy concepts with creative ocean-inspired design elements. It demonstrates how wind energy can be both functional and visually engaging while exploring innovative turbine structures.
Device fits inside 1m2 cube
Solar Panel
Panels
Bank
Video of Device Running

Hobbit Of The Wind
Exeter-West Greenwich Senior High School · Amy Biagioni-Chmura
Key Metrics
Wind Speed (m/s)
3.3
Rotor Swept Area (cm2)
4261
Resistor Value (ohms)
30
Voltage
6.5
Project Overview
I have a Home-Built generator that has 5 colorful blades that allow my turbine to grab the maximum amount of power in the wind! My base takes inspiration from a tripod foundation, its made out of aluminium and utilizes many 3D components. My blades work best at 25 degrees to produce an average of 20 Joules!
Video of Device Running

The Turbine Tacos
Loudoun Country Day School · Mrs. Peacemaker and Mrs. Frashure
Key Metrics
Wind Speed (m/s)
2.5
Rotor Swept Area (cm2)
530.914
Resistor Value (ohms)
1
Voltage
4.34
Project Overview
We started off with balsa wood and had a curve at the tip of the blade. For our second design, we tried plastic material and no curve. We ended up sticking with the balsa wood and six blades for the optimal voltage output.
Device fits inside 1m2 cube
Solar Panel
Panels
Bank
Video of Device Running

The Wicked Turbines
Loudoun Country Day School · Mrs. Peacemaker and Mrs. Frashure
Key Metrics
Wind Speed (m/s)
2.5
Rotor Swept Area (cm2)
615.734
Resistor Value (ohms)
1
Voltage
4.15
Project Overview
We started off with four eleven-inch heavier balsa wood blades in a rounded shape. For the second try, we used four eleven-inch plastic blades in a rounded shape. Lastly, we tried a mix of different types of blades and decided that the heavier balsa wood was the best option.
Device fits inside 1m2 cube
Solar Panel
Panels
Bank
Video of Device Running

NELS
Londonderry · Laura Echhammer & Berny Wilson
Key Metrics
Wind Speed (m/s)
3.5
Rotor Swept Area (cm2)
15
Resistor Value (ohms)
30
Voltage
16
Project Overview
We started with a kidwind gearbox and balsa blades. Then we started to alternate between poster board and corrugated plastic blades. After that we decided to make our own gearbox which got us much higher scores.
Video of Device Running
The Girls Who Harnessed the Wind
The Londonderry School · Laura Eichhammer
Key Metrics
Wind Speed (m/s)
3.5
Rotor Swept Area (cm2)
6065.44382
Resistor Value (ohms)
30
Voltage
15
Project Overview
Hi, we are The Girls Who Harnessed the Wind and have been doing kidwind together for three years, but we have known each other for around 9 years. This year, our turbine has a gear ratio of 1:32 with 3D printed gears, and has triangular shaped blades that are 18.5 in long and 8.75 in wide. We started Kidwind because our school is green, so they started the program a while ago, and because we are friends, we joined.
Device fits inside 1m2 cube
Solar Panel
Panels
Bank
Video of Device Running

Jawa
smithfield high school · Mrs.Finch
Key Metrics
Wind Speed (m/s)
3.5
Rotor Swept Area (cm2)
1795
Resistor Value (ohms)
0
Voltage
20
Project Overview
it is a minimalist as possible without sacrificing performance. designed using recycled and improvised parts. it has personality to it.
Device fits inside 1m2 cube
Solar Panel
Panels
Bank

EMMME
WCASD · Mr. Paris
N/A
Key Metrics
Wind Speed (m/s)
3.3
Rotor Swept Area (cm2)
1133.54
Resistor Value (ohms)
210.5
Voltage
1.18
Project Overview
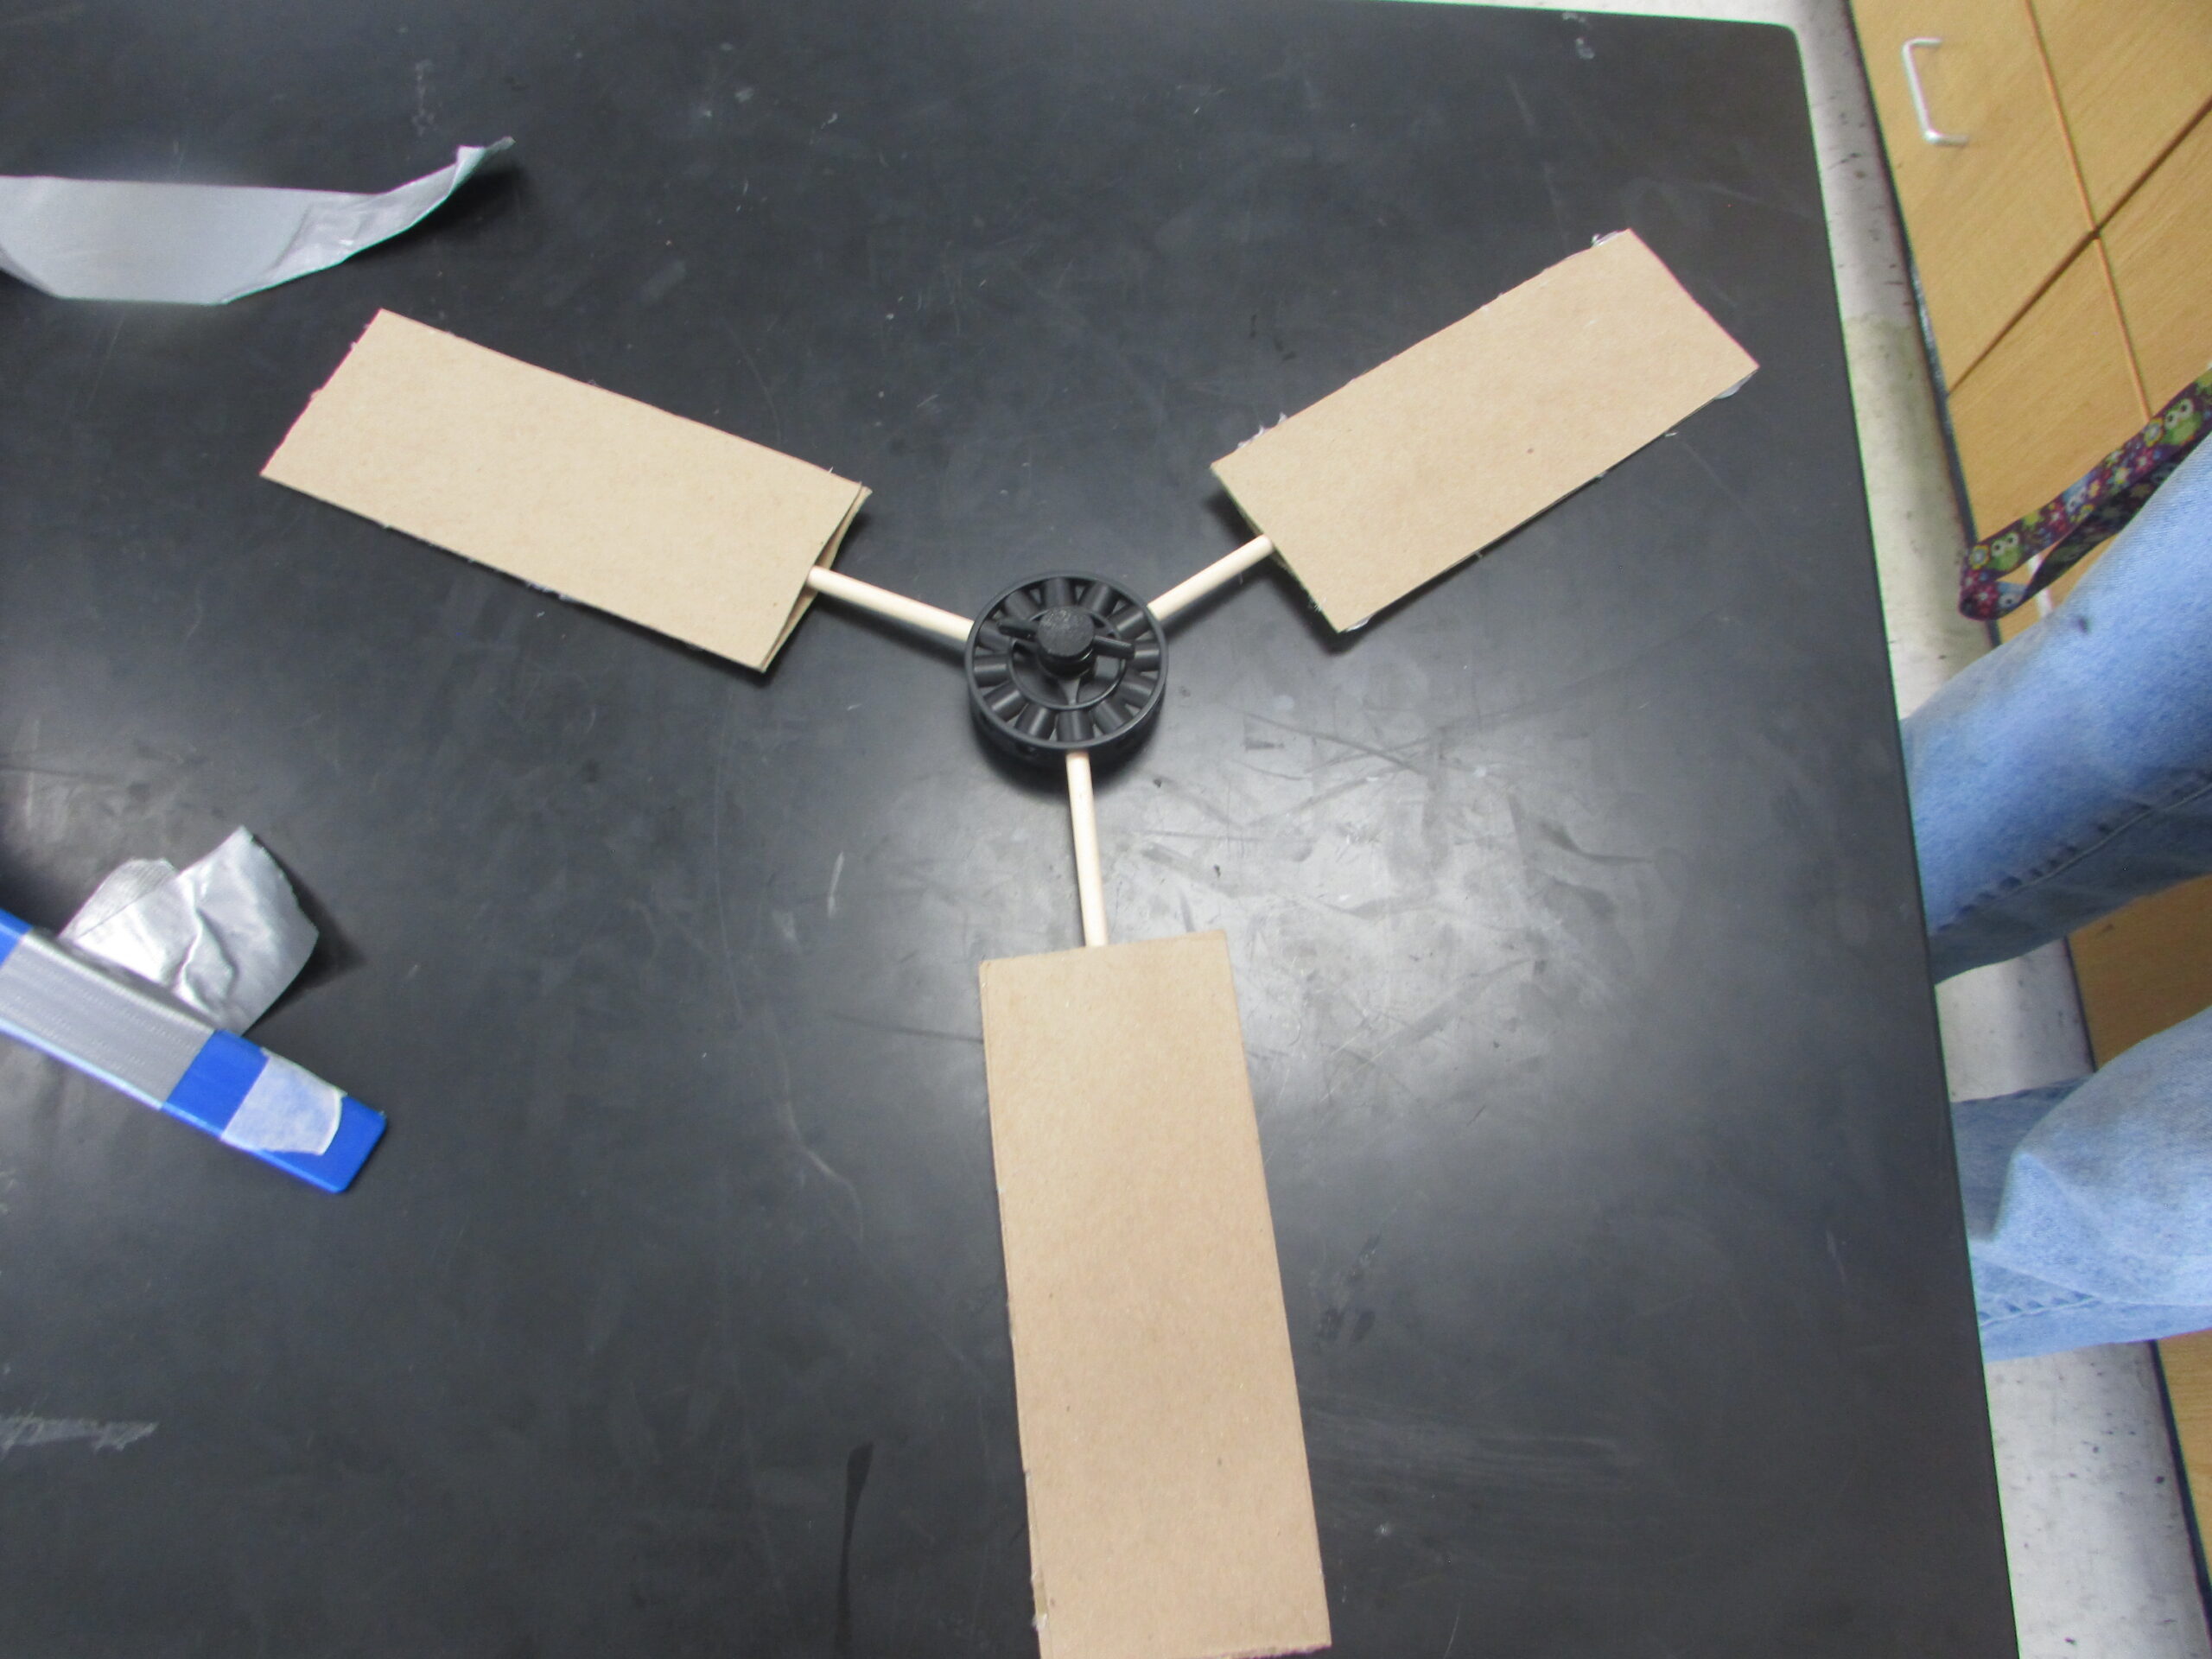
With our 3 blades we made them out of cardboard. We started by making a sketch. Next we measured and cut them out.
Device fits inside 1m2 cube
Solar Panel
Panels
Bank

Texas Wolves
Colorado ISD · Harold Sowa
N/A
Key Metrics
Wind Speed (m/s)
5
Rotor Swept Area (cm2)
1350
Resistor Value (ohms)
30
Voltage
24
Project Overview
We are the Texas Wolves, a dedicated team of seven students competing in the KidWind Challenge, with each of us having 1-2 years of experience. By using our strengths and working together, we’ve created a turbine focused on generating the maximum possible power. Through extensive testing of multiple blade designs, materials, and ratios, we analyzed the data and refined our prototype to develop the high-performing wind turbine we have today.
Device fits inside 1m2 cube
Solar Panel
Panels
Bank
Video of Device Running

Supreme Wolves
Colorado ISD · Harold Sowa
N/A
Key Metrics
Wind Speed (m/s)
5
Rotor Swept Area (cm2)
1541
Resistor Value (ohms)
30
Voltage
20
Project Overview
We have a model wind turbine with a wooden base painted to look like an offshore turbine. It uses a vertical stacked dual nacelle with the generator on the upper nacelle.
Device fits inside 1m2 cube
Solar Panel
Panels
Bank
Video of Device Running
ELECTRIC Wolves
Colorado City ISD · Harold Sowa
N/A
Key Metrics
Wind Speed (m/s)
8
Rotor Swept Area (cm2)
3600
Resistor Value (ohms)
30
Voltage
19
Project Overview
Our wind project focused on designing and building a wind turbine that could generate the highest amount of electrical energy. We tested different blade shapes, angles, and materials to improve efficiency and recorded voltage data to measure performance. Through teamwork and problem-solving, we learned how renewable wind energy can be a clean and sustainable power source for the future.
Device fits inside 1m2 cube
Solar Panel
Panels
Bank
Video of Device Running

Supreme Wolves
Colorado ISD · Harold Sowa
N/A
Key Metrics
Wind Speed (m/s)
4
Rotor Swept Area (cm2)
1641.41
Resistor Value (ohms)
30
Voltage
20
Project Overview
We have a model wind turbine with a wooden base painted to look like an offshore turbine. It uses a vertical stacked dual nacelle with the generator on the upper nacelle.
Device fits inside 1m2 cube
Solar Panel
Panels
Bank
Video of Device Running
Goofy Goobers
Dunbar High school · Melody Deitrick
N/A
Key Metrics
Wind Speed (m/s)
2.9
Rotor Swept Area (cm2)
3631.68
Resistor Value (ohms)
30
Voltage
0.96
Project Overview
This project is shaped like a isosceles triangle. It consists of two stacked paper so it can have more durability. it is not a large size but also not too small.
Device fits inside 1m2 cube
Solar Panel
Panels
Bank
CJordan
Dunbar High school · Ms. Deitrick
N/A
Key Metrics
Wind Speed (m/s)
1
Rotor Swept Area (cm2)
1.8
Resistor Value (ohms)
30
Voltage
1.4
Project Overview
We decided to take cardboard to make blades. After we shaped the cardboard we taped it down heavily so that there was no movement once the wind hit the blades. After pitching the blades, the blades spun fast and did not shake or rattle since they were held tightly by the tape.
Device fits inside 1m2 cube
Solar Panel
Panels
Bank
Video of Device Running
Becca and Brooklyn
Paul L Dunbaer · Melody Deitrick
N/A
Key Metrics
Wind Speed (m/s)
2.6
Rotor Swept Area (cm2)
3.4
Resistor Value (ohms)
30
Voltage
1000
Project Overview
This project consents of testing out different shapes for a windmill. Then you have to find the pitch and see how fast it goes. Then at the end of the project we had to make modifications to our project to make the blades better and help them move faster.
Keimauri
Dunbar high school · Ms. Deitrick
N/A
Key Metrics
Wind Speed (m/s)
2.6
Rotor Swept Area (cm2)
1133.59
Resistor Value (ohms)
30
Voltage
1.4
Project Overview
At first I didn't really understand the concept of this I just knew my turbine had to spin. My first designs satisfied me but then making improvements was required. With these improvements my project significantly became better.
Device fits inside 1m2 cube
Solar Panel
Panels
Bank
Video of Device Running

WOMEN
NORTHWESTERN HIGH SCHOOl · Michele Ruland
N/A
Key Metrics
Wind Speed (m/s)
Rotor Swept Area (cm2)
Resistor Value (ohms)
Voltage
Project Overview
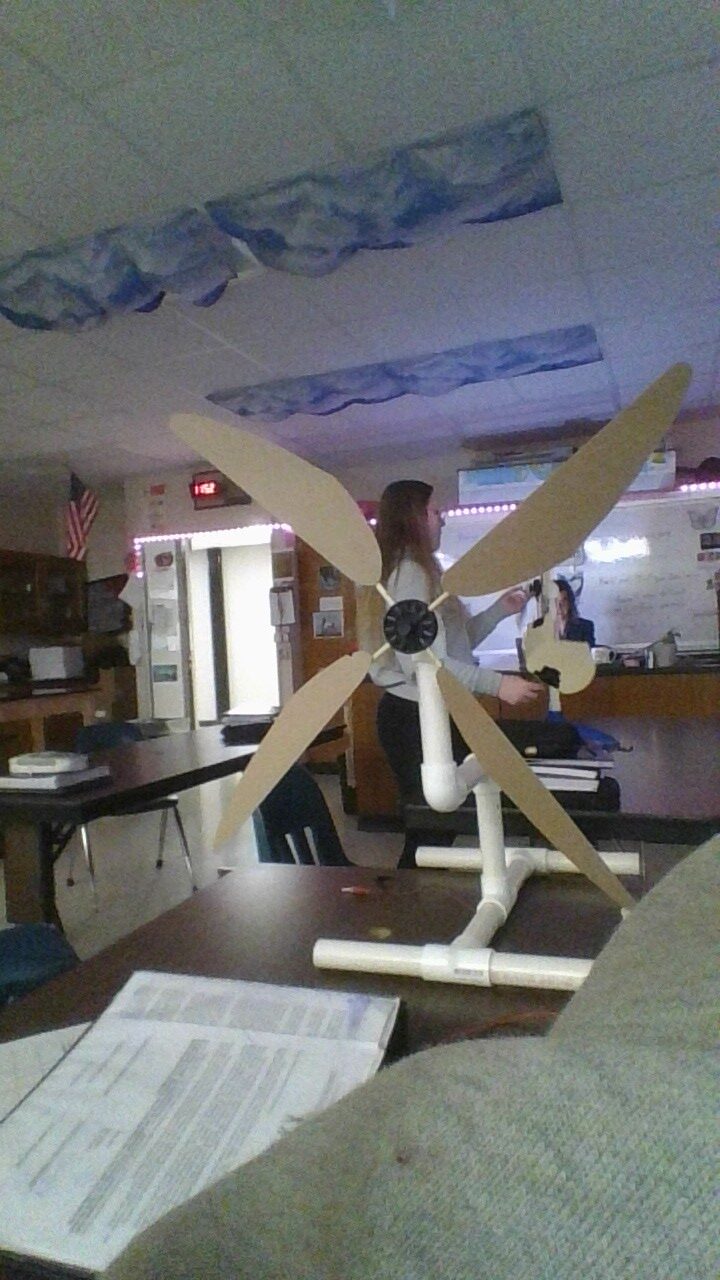
Our wind turbine has three card board blades taped at the bottom. That are in the shape of a U to look like an actual wind turbine. They are angled for the wind to catch it.
Device fits inside 1m2 cube
Solar Panel
Panels
Bank
The CovertYetis
Northwestern Senior High School · Mrs.Ruland
N/A
Key Metrics
Wind Speed (m/s)
Rotor Swept Area (cm2)
Resistor Value (ohms)
Voltage
Project Overview
As problems arose, the CovertYetis worked tirelessly to develop the current design of the windmill, which was successfully crafted from recycled materials to help improve the environment. Using the recycled materials, the CovertYetis brainstormed different variables to refine the current best design they made. In the future, the CovertYetis will change the future of our planet one windmill at a time.
Device fits inside 1m2 cube
Solar Panel
Panels
Bank

Aerosmiths
Chesapeake Math & IT Academy South · Mr. Roorda
N/A
Key Metrics
Wind Speed (m/s)
Rotor Swept Area (cm2)
Resistor Value (ohms)
Voltage
Project Overview
Our windmill was made with 3D printed parts and PVC pipes. We wanted to make our best windmill yet, with a more steampunk design to signal our growth as a team. Throughout our testing, we fastened the base and replaced certain parts with PLA filament to get better testing results.
Device fits inside 1m2 cube
Solar Panel
Panels
Bank

Zephyr Profusion
Signal Knob Middle School · Mrs. Price
N/A
Key Metrics
Wind Speed (m/s)
Rotor Swept Area (cm2)
Resistor Value (ohms)
Voltage
Project Overview
For my wind turbine I tested different variables to get the desired result. I ended with a long curved blade made of cardboard. This design produced the most volts on the multimeter. As a result of all of the factors I tested, my blade is fast and efficient!
Device fits inside 1m2 cube
Solar Panel
Panels
Bank
Video of Device Running
Vivacious Voltages
Signal Knob Middle School · Cindy Price
N/A
Key Metrics
Wind Speed (m/s)
Rotor Swept Area (cm2)
Resistor Value (ohms)
Voltage
Project Overview
We used a combination of 2 blade styles (as seen in attached image)
2 long, 2 short. The reason for that is the cone of air from the fan can be caught easier. The design for the blades generated 1.8-2.1V. No resistors or other electrical equipment was added except a multi meter for measurement.
Device fits inside 1m2 cube
Solar Panel
Panels
Bank
MO POWA BABY!
Northwestern Senior High School · Mrs. Ruland
N/A
Key Metrics
Wind Speed (m/s)
Rotor Swept Area (cm2)
Resistor Value (ohms)
Voltage
Project Overview
our windmill was based off a standard windmill you may see in a field. we tried adding more resistance so it would push the blades, but it didn't work in practice. then, we tried making the blades heavier, which also did not work in practice. in the end, our simplest windmill design produced the most power.
Device fits inside 1m2 cube
Solar Panel
Panels
Bank

Abree and Melanie
Northwestern Highschool · Mrs. Ruland
N/A
Key Metrics
Wind Speed (m/s)
Rotor Swept Area (cm2)
Resistor Value (ohms)
Voltage
Project Overview
This project required thinking about different ways to get our windmill to catch the most speed. We had to figure out which materials would work best and realized that the heavier the blades, the less wind they get. We also had to figure out what blade shapes would work the best.
Device fits inside 1m2 cube
Solar Panel
Panels
Bank
Flower Power 67
Northwestern High school · Mrs. Ruland
N/A
Key Metrics
Wind Speed (m/s)
Rotor Swept Area (cm2)
Resistor Value (ohms)
Voltage
Project Overview
This project required us to think of many different ways to build it. We had to figure out what materials and what shapes would catch the most wind. We figured out that the heavier the blades were, the less they would spin, so we tried to keep them lighter, which seemed to work better.
Device fits inside 1m2 cube
Solar Panel
Panels
Bank
BDG Disciples
northwestern school district · Mrs Ruland
N/A
Key Metrics
Wind Speed (m/s)
Rotor Swept Area (cm2)
Resistor Value (ohms)
Voltage
Project Overview
This is a windmill made from PVC and cardboard. We tried to create a windmill that would create a good amount of power but failed multiple times. This windmill is almost adequate and the best of our trials.
Device fits inside 1m2 cube
Solar Panel
Panels
Bank

Jaxon/Joseph
NORTHWESTERN School District · Michelle Ruland
N/A
Key Metrics
Wind Speed (m/s)
Rotor Swept Area (cm2)
Resistor Value (ohms)
Voltage
Project Overview
This windmill has a square base and a shaft that holds the three propellers that are 8 1/2 inches long each.
Device fits inside 1m2 cube
Solar Panel
Panels
Bank

Breezy Babes
Northwestern · Michelle Ruland
N/A
Key Metrics
Wind Speed (m/s)
Rotor Swept Area (cm2)
Resistor Value (ohms)
Voltage
Project Overview
We made a vertical wind turbine with a pbc pipe stem and 3 blades. The blades were made with cardboard paper and a dot of hot glue at the end of each blade. The blades were angled at 15 degrees and had a voltage of 0.47 with a fan on medium speed.
Device fits inside 1m2 cube
Solar Panel
Panels
Bank
Lele & Lulu
Northwestern Senior High School · Michelle Ruland
N/A
Key Metrics
Wind Speed (m/s)
Rotor Swept Area (cm2)
Resistor Value (ohms)
Voltage
Project Overview
Four diamond shaped blades at 55 degree angles. Made out of a thin cardboard material. The thin cardboard should be connected to wooden dowel rods. Have them tape to the rods rather than gluing them.
Device fits inside 1m2 cube
Solar Panel
Panels
Bank
Tanka Jahari
Northwestern High School · Michelle Ruland
N/A
Key Metrics
Wind Speed (m/s)
Rotor Swept Area (cm2)
Resistor Value (ohms)
Voltage
Project Overview
Made from PVC, it is propelled by a motor that is powered by the wind. It is about 2 feet tall and has cardboard blades. This is a simple design that is efficient.
Device fits inside 1m2 cube
Solar Panel
Panels
Bank
Pickles
Northwestern high school · Michelle Ruland
N/A
Key Metrics
Wind Speed (m/s)
Rotor Swept Area (cm2)
Resistor Value (ohms)
Voltage
Project Overview
We made a horizontal wind turbine. We found that a two blade wind turbin is optimal for fast speed and high voltage. Slight angles work better for higher output.
Device fits inside 1m2 cube
Solar Panel
Panels
Bank

WINd
Northwestern High School · Mrs. Ruland
N/A
Key Metrics
Wind Speed (m/s)
Rotor Swept Area (cm2)
Resistor Value (ohms)
Voltage
Project Overview
This project involves testing a homemade windmill designed for efficient energy production using a standard fan. The objective is to observe how well the windmill converts airflow from the fan into usable mechanical energy. Through this experiment, we aim to gather data on performance and identify potential improvements for future designs.
Device fits inside 1m2 cube
Solar Panel
Panels
Bank

Flying Pickles
Colonie Central High School · Mrs. Lynn
N/A
Key Metrics
Wind Speed (m/s)
3.6
Rotor Swept Area (cm2)
8105
Resistor Value (ohms)
Voltage
1.841
Project Overview
We are the Flying Pickles, a team consisting of Jameson, Abil, Kara, Joseph, David, and Lewis—freshmen students from Colonie Central High School in Albany, NY. Over the past five years, we have participated in regional STEM competitions throughout Albany and Utica, and we are thrilled to announce that our model wind turbine is capable of generating over 2,000 milliwatts of power, which has made us competitive among the best teams in the nation. Last year we traveled to Phoenix, AZ for KidWind Worlds, and our team ended up winning the Wind Champion title in the Middle School division. Through our participation in STEM classes and our after-school club, we have honed our CAD and design skills, expanded our understanding of math and science, and developed critical problem-solving abilities. KidWind has not only deepened our appreciation for tackling the energy crisis but has also provided us with valuable experiences in teamwork and collaboration.
Video of Device Running

We’re going to win-d
WCASD · Mr. Eister
N/A
Key Metrics
Wind Speed (m/s)
Rotor Swept Area (cm2)
Resistor Value (ohms)
Voltage
Project Overview
We went for a design with a "The bigger, the better" mindset. We adjusted our angles so they would hit the wind just right. Our blades subtly get faster as the wind comes, producing even more electricity.
Device fits inside 1m2 cube
Solar Panel
Panels
Bank

Anderdingus
Stetson · Mr. Paris
N/A
Key Metrics
Wind Speed (m/s)
Rotor Swept Area (cm2)
Resistor Value (ohms)
Voltage
Project Overview
The project that we made was to help produce clean energy. We did this by making wings by cutting cardboard and sanding it down to the right shape and size. We also had cut the top to make it triangular which made the voltage increase tremendously.
Device fits inside 1m2 cube
Solar Panel
Panels
Bank

The Box Chewers
WCASD · Mr. Paris
N/A
Key Metrics
Wind Speed (m/s)
Rotor Swept Area (cm2)
Resistor Value (ohms)
Voltage
Project Overview
This is a wind turbine we had to make for class. We based it off of Dutch windmills. and it can create a max of 7.61 volts of energy at a wind speed of 1.5 m/s. The turbine has 4 blades and they are made of cardboard and paper.
Device fits inside 1m2 cube
Solar Panel
Panels
Bank

wind breakers
WCASD · Mr. Paris
N/A
Key Metrics
Wind Speed (m/s)
Rotor Swept Area (cm2)
Resistor Value (ohms)
Voltage
Project Overview
The project is about getting the most efficient way to make energy. Part of this being efficient is not using nonrunnable resources. The way you do this most efficiently is by using turbines that make the most energy by catching the most wind.
Device fits inside 1m2 cube
Solar Panel
Panels
Bank

Lucian Stadler
WCASD · Mr. Paris
N/A
Key Metrics
Wind Speed (m/s)
Rotor Swept Area (cm2)
Resistor Value (ohms)
Voltage
Project Overview
A 3 bladed design made from paper and cardboard. The cardboard was cut, using a laser cutter, to the desired, tapered, wing shape, and is used as the internal support. The paper is then wrapped around it to form the skin of the blade.
Device fits inside 1m2 cube
Solar Panel
Panels
Bank

Cookie Cutters
Stetson Middle School · Mr.Paris
N/A
Key Metrics
Wind Speed (m/s)
Rotor Swept Area (cm2)
Resistor Value (ohms)
Voltage
Project Overview
We went with leaf-shaped, paddle cardboard peices. The first two didn't work so we were really happy that this did! After testing different shapes we found this was the fastest.
Device fits inside 1m2 cube
Solar Panel
Panels
Bank

67’ers
Stetson Middle School · Mr. Paris
N/A
Key Metrics
Wind Speed (m/s)
Rotor Swept Area (cm2)
Resistor Value (ohms)
Voltage
Project Overview
Our project is simple but effective. Also I saw people in my class doing a design so I modified the design a bit. They might be different sized but who cares it works.
Device fits inside 1m2 cube
Solar Panel
Panels
Bank

Wind Winners
WCASD · Mr. Paris
N/A
Key Metrics
Wind Speed (m/s)
Rotor Swept Area (cm2)
Resistor Value (ohms)
Voltage
Project Overview
This project took a lot of trial and error, but in the end, we got a perfect design. Also, we had a lot of determination with our group. Lastly, we took all we had and put it into the wing, and we used lots of accuracy and precision.
Device fits inside 1m2 cube
Solar Panel
Panels
Bank

The Winders
Stetson Middle School · Mr Paris
N/A
Key Metrics
Wind Speed (m/s)
Rotor Swept Area (cm2)
Resistor Value (ohms)
Voltage
Project Overview
We took time crafting this design and making precise measure meants. We have six wings for our project and it will make it go fast. Also we were using an angle for the measurer meants.
Device fits inside 1m2 cube
Solar Panel
Panels
Bank

Chelsea & Kerry
Stetson Middle School · Mr. Paris
N/A
Key Metrics
Wind Speed (m/s)
1.6
Rotor Swept Area (cm2)
Resistor Value (ohms)
116
Voltage
5.40
Project Overview
Our project consists of 4b big wind turbines, with small wooden sticks on the back to connect to the spinner itself. Our turbine is made out of cardboard and hot glue to get the wooden sticks on.
Device fits inside 1m2 cube
Solar Panel
Panels
Bank

FAN FAVORITES
G.A. Stetson Middle School · Mr. Paris
N/A
Key Metrics
Wind Speed (m/s)
Rotor Swept Area (cm2)
Resistor Value (ohms)
Voltage
Project Overview
Our protect is a fan favorite for all. There are 3 blades in all. Each blade is an almond shape with a point on the top. The colors of it are brown, with black polka dots.
Device fits inside 1m2 cube
Solar Panel
Panels
Bank

Bibble Baddies
Stetson · Mr Paris
N/A
Key Metrics
Wind Speed (m/s)
Rotor Swept Area (cm2)
Resistor Value (ohms)
278.3
Voltage
0.31
Project Overview
Our project has 2 blades. On the back there is cardboard so it isn't flimsy. The base has lots of hot glue to reinforce it again!
Device fits inside 1m2 cube
Solar Panel
Panels
Bank

Stetson Bibbles
G.A. Stetson Middle School · Mr.Paris
N/A
Key Metrics
Wind Speed (m/s)
Rotor Swept Area (cm2)
Resistor Value (ohms)
Voltage
Project Overview
hi we are the the stetson bibbles. and we love bibble and building things. we also want to win because we have never won anything before 🙁 but we would love to win and good luck to everyone! GO BIBBLES
~Rylee, Grace
Device fits inside 1m2 cube
Solar Panel
Panels
Bank

Dream Team
WCASD · Mr. Paris
N/A
Key Metrics
Wind Speed (m/s)
Rotor Swept Area (cm2)
Resistor Value (ohms)
Voltage
Project Overview
To make this project, first, we designed our blades on paper. Then, we cut them out and glued a stick on the bottom to connect it to the wheel. Finally, we put the blades on the fan and measured the turbine voltage and resistance.
Device fits inside 1m2 cube
Solar Panel
Panels
Bank